~ 4 min read
The Peerless Assassin SE 120 is an Incredible $40 Cooler
I recently upgraded my Personal PC which is mostly used for gaming (and occasionally testing windows software) from a AMD 3600 to a 5800x and a 7 year old 750 TI SC(!) to a Radeon RX6600. Unfortunately for me, the 5800x doesn’t come with a cooler and gets up to much higher temperatures than my previous CPU so requires something more substantial. I had contemplated the idea of going with a all in one cooling solution, but I can’t be doing with the complexity that it brings or the worry of it ever leaking.
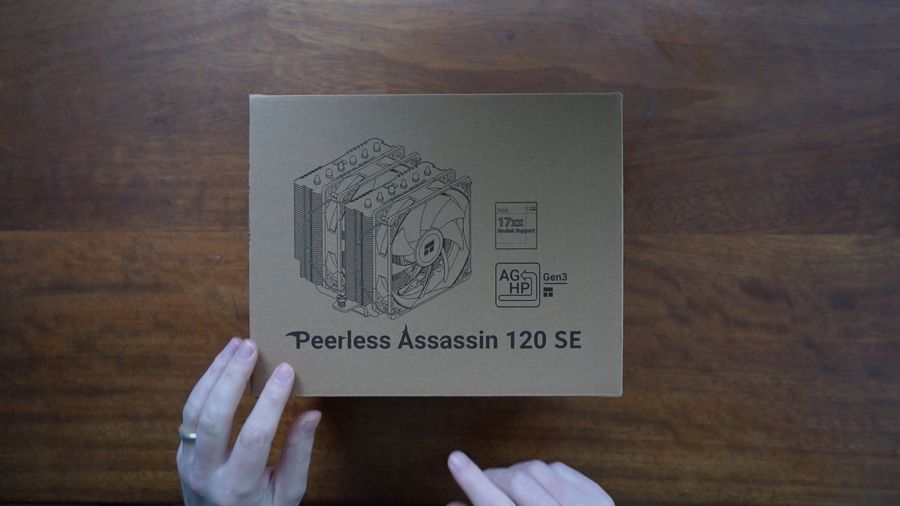
I ended up purchasing the Thermalright Peerless Assassin SE 120 due to the strength of its reviews for £39 (US/UK), but it’s available for just $40 in the US. Compared to alternative Air coolers that can get to over $100 this is much more in my price range. It has a TDP of 120 to 265W, so enough to cover the 5800x at 105W.
Unboxing and Contents
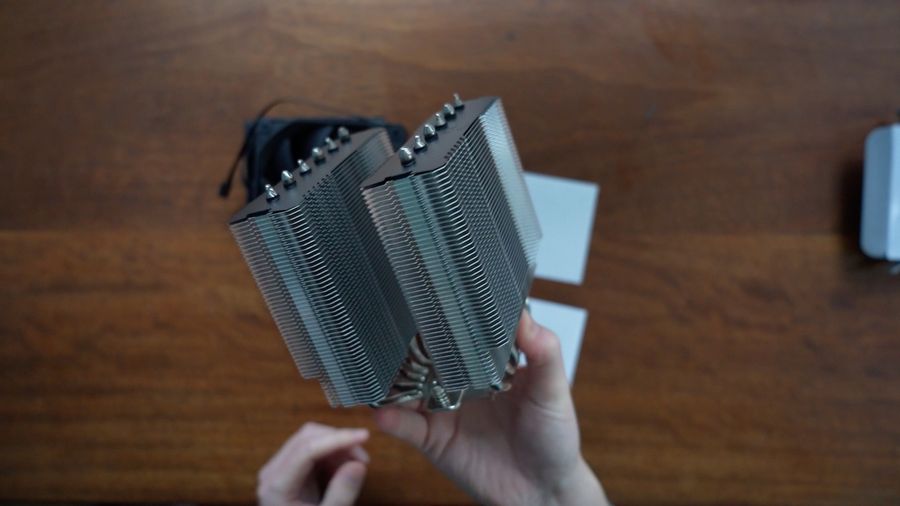
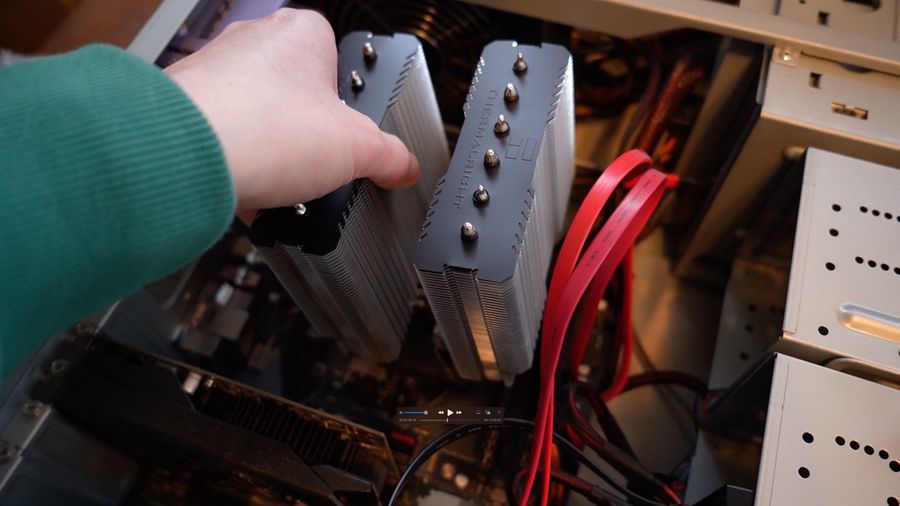
Thermalright have packaged this extremely well with plastic foam and just as well too - it’s HUGE at 13.5L x 15.5W x 12.5H cm and weighs far more than my paltry wraith cooler! Despite this, I still managed to prang a couple of the fins out of place getting it out of the box and had to bend them back before installing.
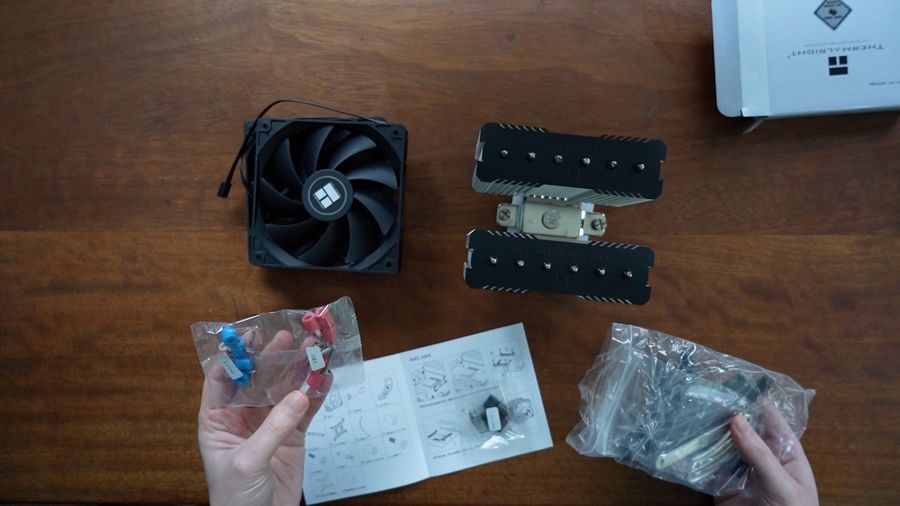
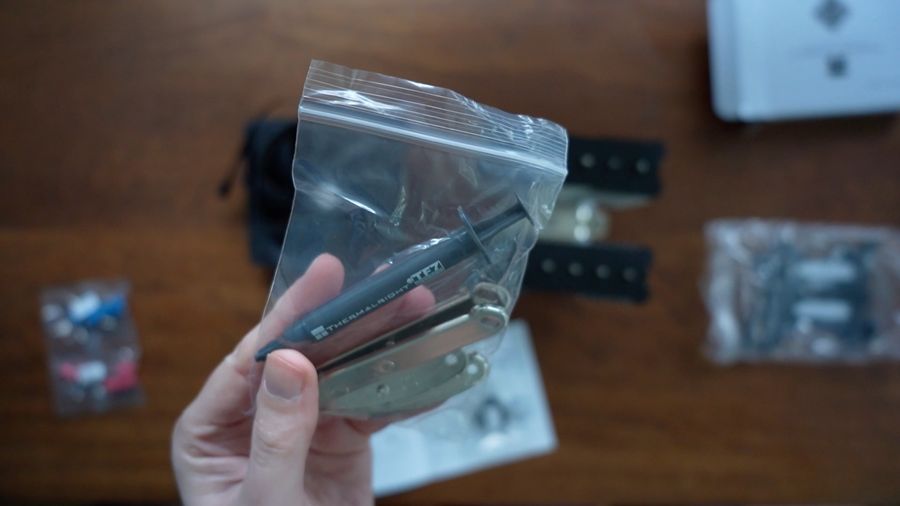
Inside you’ll find all the fixings you’d expect for Intel 1700 or AM4 sockets, along with fans packaged separately, fan clips and some thermal compound (which I didn’t end up using). Everything is really well labelled and illustrated with instructions in english (though I didn’t think to turn them over to find them during install).
Installation
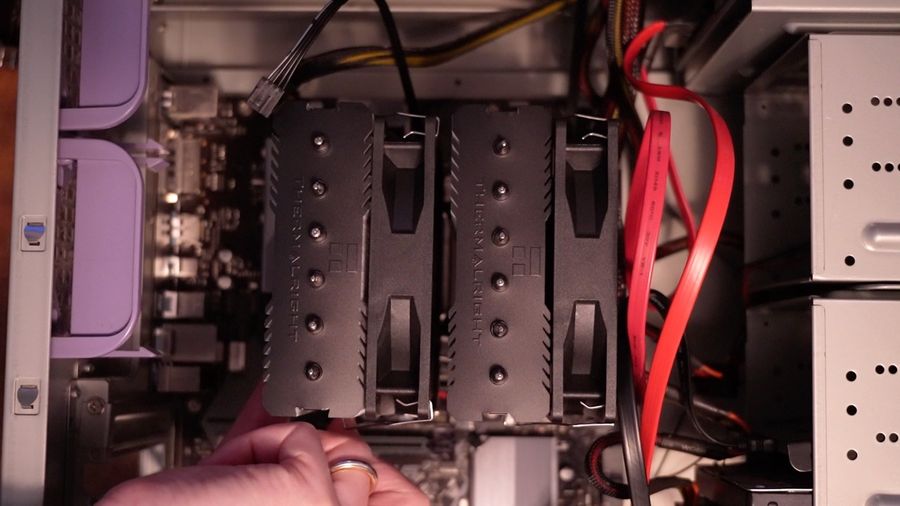
Installing the heatsink was mostly simple, add the mounting brackets and screw it into place. Most of my troubles were caused by using a case for the build which is a little past its time (by almost a decade), so had precious room to maneuver. Despite being huge, my case was only just tall enough to install it. The mount for the fan on the door of my case still touches it - so make sure you check dimensions before purchase.
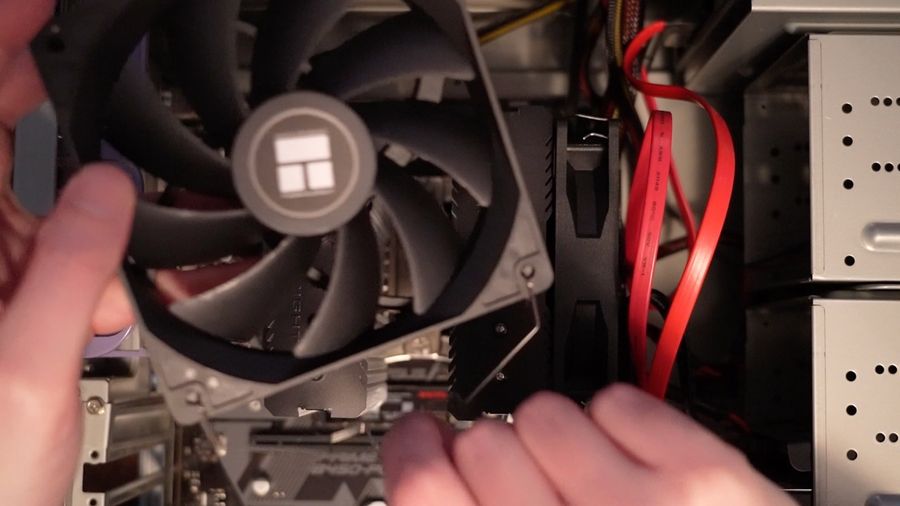
The fans were a different matter - I spent quite a bit of time trying to figure out how to hook the clips to them and clip them to the heatsink itself. Thermalright do provide a YouTube video illustrating this though it does skip over this part a little. I recorded a full video of my upgrade over on YouTube which you may find helpful.
Noise and Benchmarks
Surprisingly my machine doesn’t seem a huge amount louder, despite the large amount of fans added by my upgrades. The fans on the heatsink are 120mm, so bigger than the 80mm wraith, meaning they don’t need to spin up that fast to shift more air.
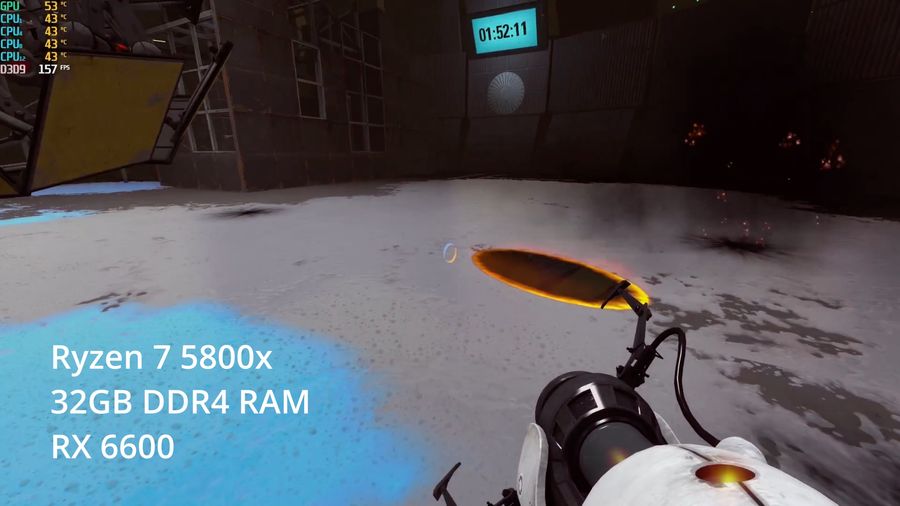
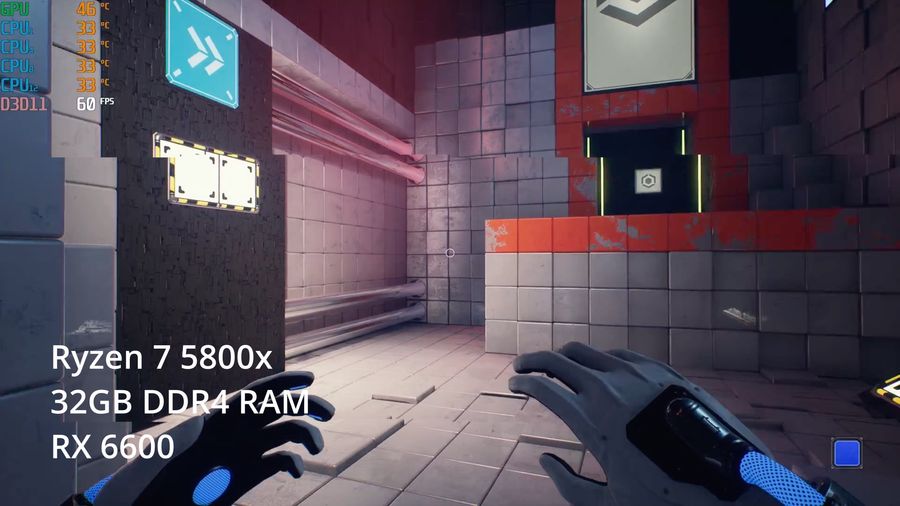
I hadn’t paid a huge amount of attention to my CPU temperatures before, but I did think to capture a few benchmarks whilst gaming. Temps were up in the 70’s when playing Portal 2 and in the 50’s in Qube 2.

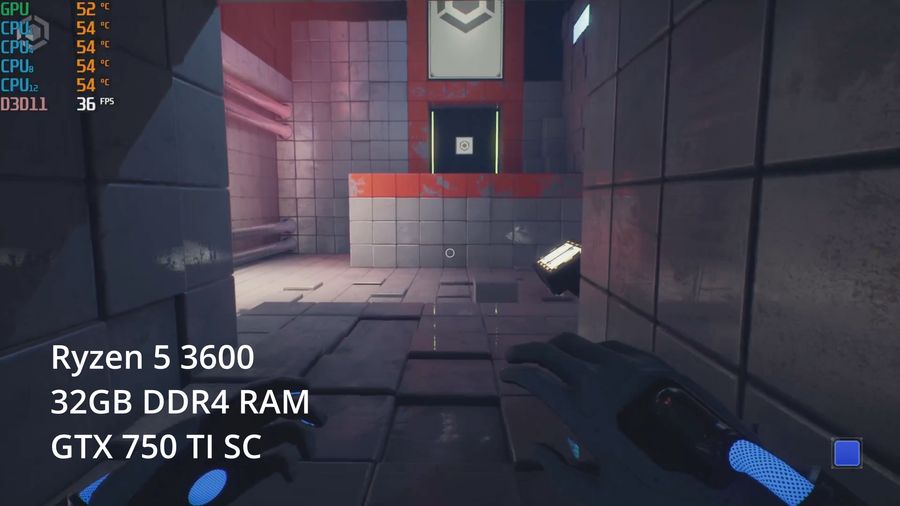
After installing the Peerless Assassin along with my other components, I saw them drop dramatically to the 40’s for Portal 2 and 30’s for Qube 2. A very impressive 20-30 degree drop given the CPU was meant to be kicking out much more heat.
Conclusion
Overall I’m really impressed by this budget cooler and thankful I found it. It’s as little as half the price of other coolers with seemingly no drawbacks. At the time of writing, you can pick it up on Amazon for $40/£39 (US/UK) and you can get it in RGB flavour too if you prefer.
If enjoyed this, you can see the video of me doing all my upgrades on YouTube along with benchmarks and temps.