~ 5 min read
How to Upgrade Your Steam Decks Storage
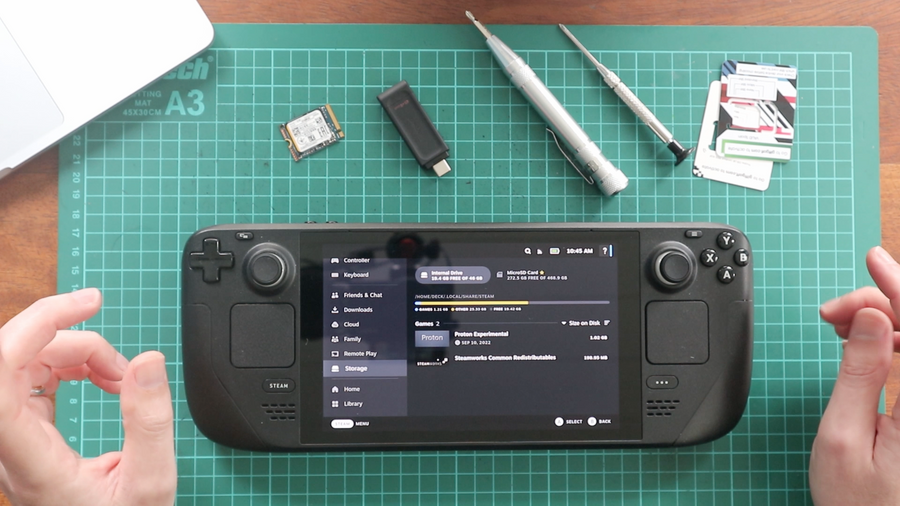
I recently upgraded my Valve Steam Deck from a paltry 64GB eMMC to a somewhat less paltry 256GB SSD, saving me about £120. I recorded a video of the process which you can watch on YouTube.
Valve has three models available (64Gb eMMC, 256GB SSD and 512GB SSD). I pre-ordered the cheapest when I discovered it would be possible to upgrade any of them yourself. If you’ve got the money, you may want to save the hassle and pay for one of the larger models since it’s a bit more involved than your typical PC upgrade.
Be Prepared
If you’re thinking about going through this yourself, I’d definitely recommend preparing by buying appropriate prying tools such as the iFixit toolkit that everyone loves (US/UK). I made the mistake of thinking I had one and being unable to find it before recording thought a couple of SIM card surrounds would be adequate. My fingernails are here to say they were not. I struggled for some time to open it.
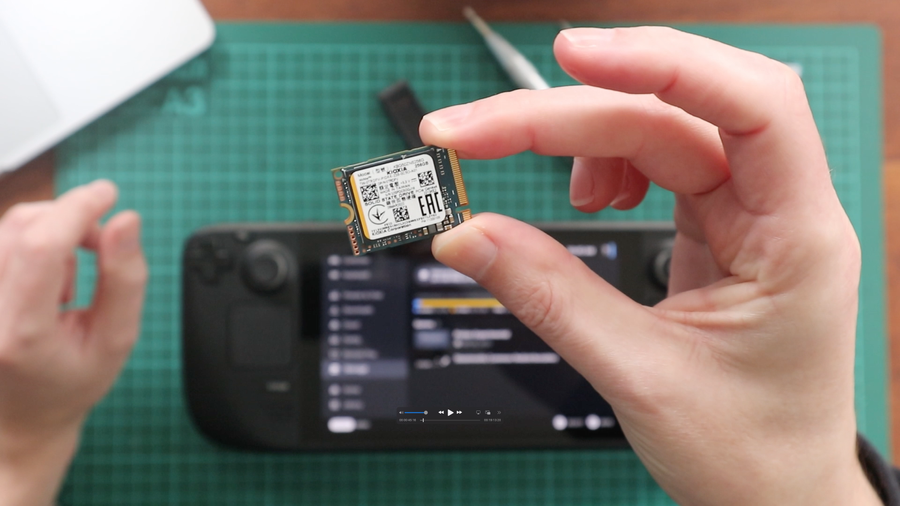
You’ll also need a thumb drive (16GB+) that is either USB-C or has a USB-C adapter, some philips screwdrivers and a replacement 2230 SSD drive (US/UK). Mine is a Kioxia (Toshiba) branded one which was a refurbished model from lambda-tek and cost just £18/$21. Prices in the UK are usually much higher than this at about £50 for a 256GB model and I don’t really need much more since I already have a 512GB microsd card.
Make sure you’ve moved the games you want to keep over to your MicroSD card and then remove it. Finally, ensure you don’t have any electrostatic discharge on you by grounding yourself before you open the deck.
Prepping the USB Drive
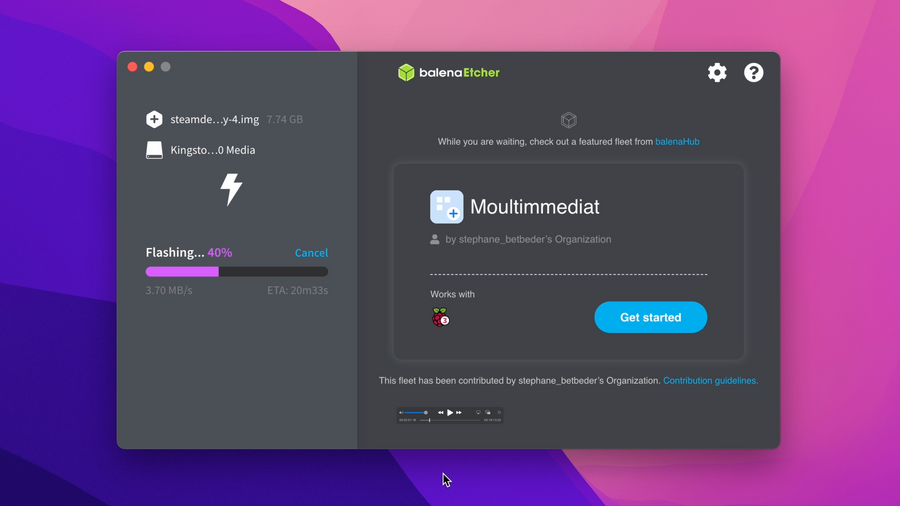
You’ll need to load a SteamOS recovery image onto the thumb drive which you’ll boot from once the eMMC is replaced. It’s a simple process, I used balenaetcher to write it once downloaded but my computer fell to sleep the first time and the write failed. Keep it handy as you’ll need it once the replacement drive is inserted.
Replacing the Storage
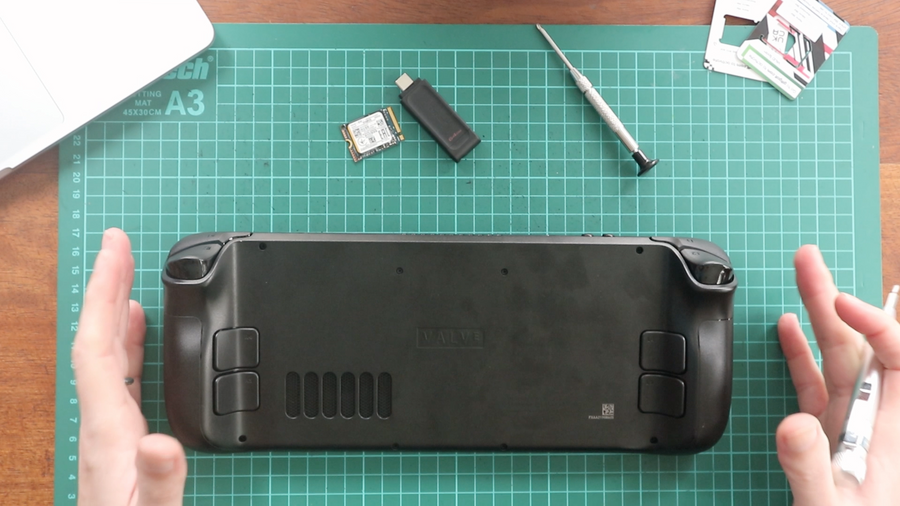
There are 8 screws that need removing from the back that are slightly different lengths. Be sure to keep them all separate as you take them out so you know which is which during reassembly.
The deck needs to be opened all the way round the seam of the back and front. As I discovered, it’s very difficult to get into the deck without a prying tool. The best place to attempt to get in is at one of the corners at the top of the thumb sticks. I did eventually manage this, after much struggling and levering with the SIM surrounds I had. It took so long my camera battery died in the process.
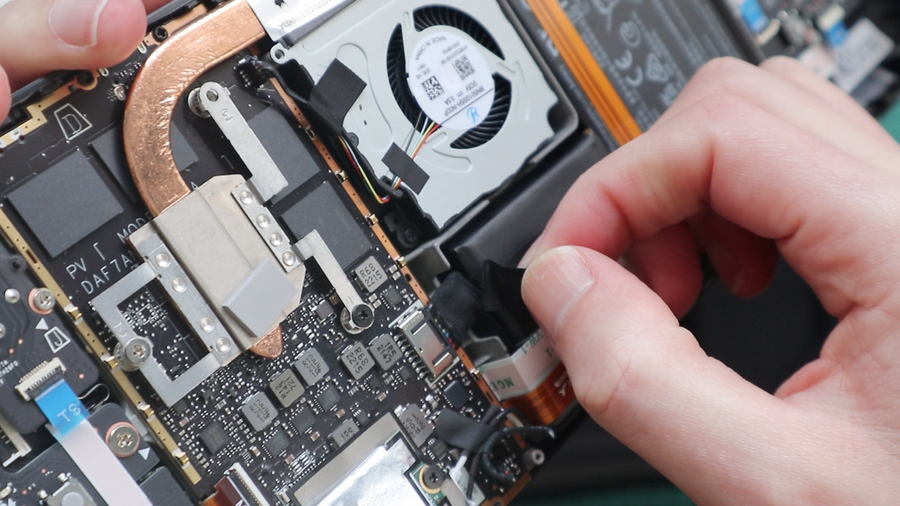
Once open you’ll need to then take off the shield by removing a 3 further screws. One of these is underneath some silver tape which you’ll need carefully fold out of the way and reapply later.
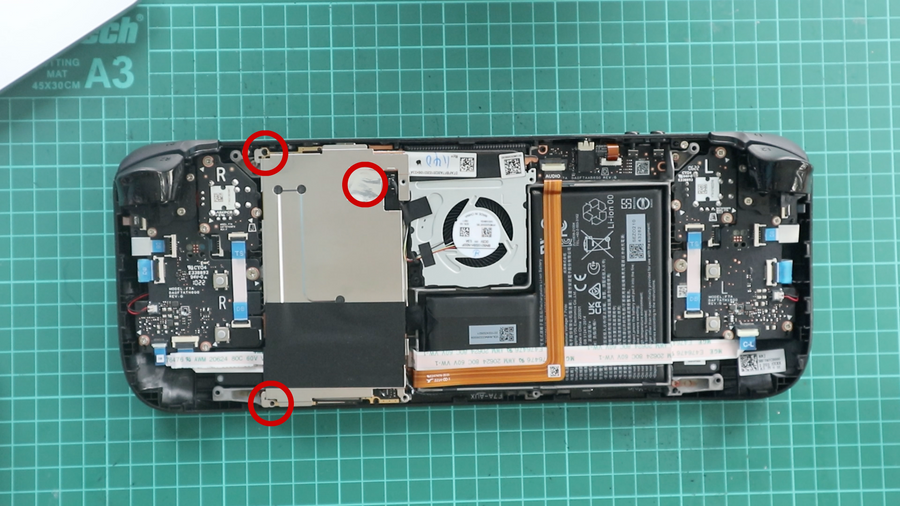
Before removing the eMMC, you need to disconnect the battery power connector - the iFixit guide states there is a pull cable to do this. Maybe it was in the past but it tore when I tried using it meaning I then had to find another way to pull the connector out. A spudger/pry tool would have been really handy at this point and made things much easier. I spent about 15 minutes trying to wiggle it out using various tools before it relented and popped out. To be doubly sure there was no power left within the deck I pressed the power connector several times once it was out.
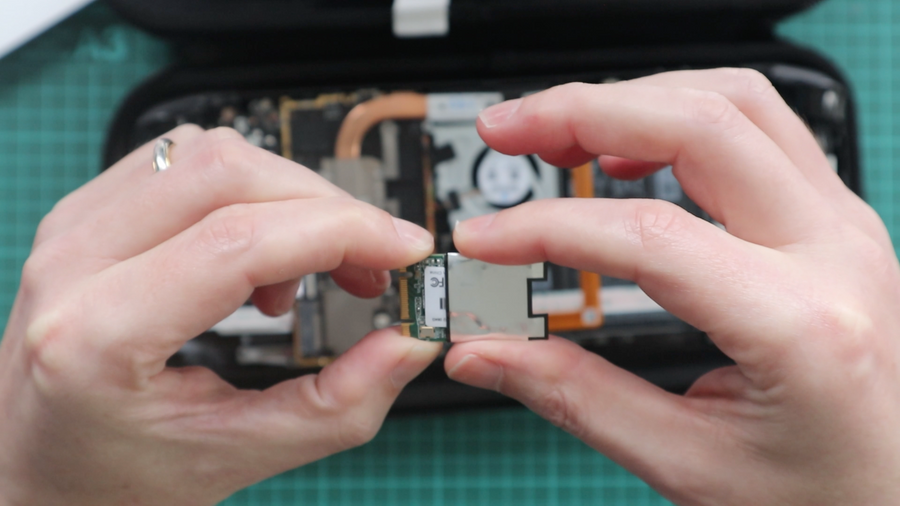
It’s then possible to remove the eMMC by first removing it’s securing screw. There’s some silver foil surrounding it that needs to be kept and placed around your new SSD. Once this is done you’re ready to reassemble everything in reverse order. I kept the back plate screws out until I was completely sure that everything was working.
Reinstalling SteamOS
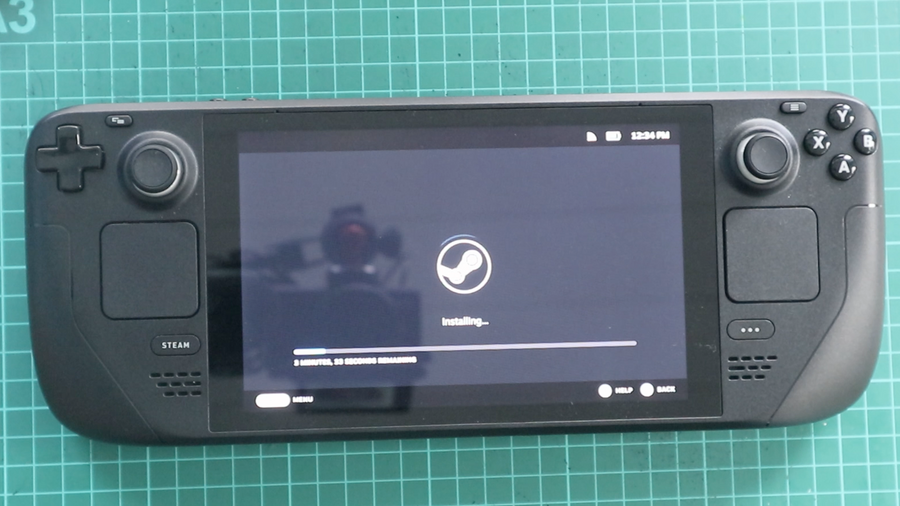
SteamOS now needs to be installed onto your new SSD. Insert your USB drive to the deck and boot your deck whilst holding the volume down and power buttons and releasing the power button on hearing the Deck chime. You’ll be presented with a menu to select which drive to boot from where you need to choose your USB drive. Once booted from the image, there’s a few options on the desktop with you needing to chose “Re-Image Steam Deck” by using the trackpad and right trigger. It’s then a case of allowing SteamOS to install.

You should make sure you have a decent wifi connection at this point as Steam reaches out to the internet to download some components. I lost several hours wondering why the installer kept progressing and then jumping backwards, seemingly stuck in a loop. This was because our internet connection had reduced to less than 10Mbps and once it was restored SteamOS happily downloaded.
Conclusion
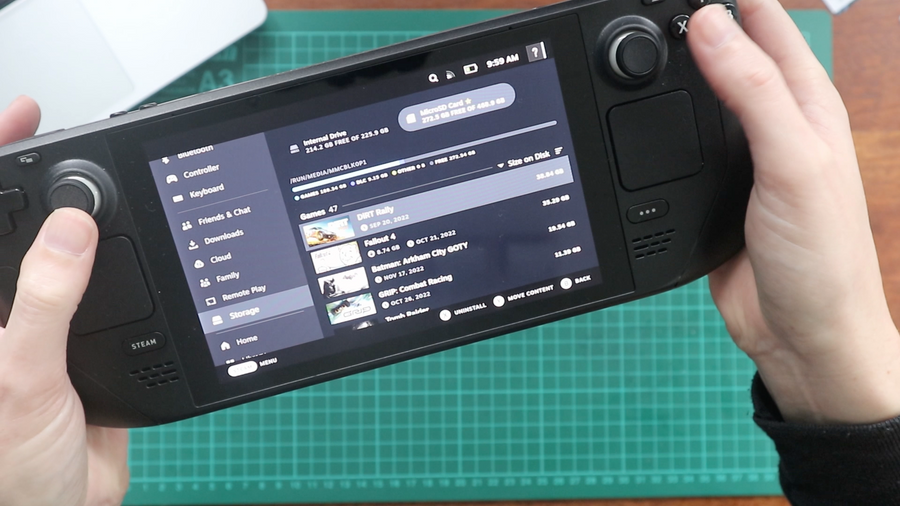
Once back in to SteamOS I found my SSD had happily installed with 215GB available after some updates - with my games all able to be played from my MicroSD. I was really glad these worked as it meant I didn’t need to go ahead and download them all again.
I definitely will be investing in some tools before I open up the Deck again. It’s great that these upgrades are possible, just not quite as simple to access as something like the Framework laptop.