~ 5 min read
Build Your Own Pico Powered Midi Controller for $35

Find the video of this article on youtube
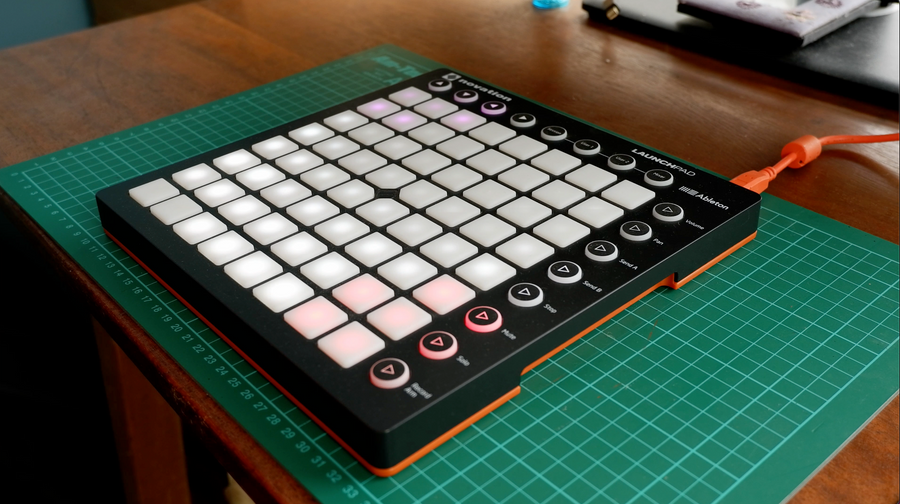
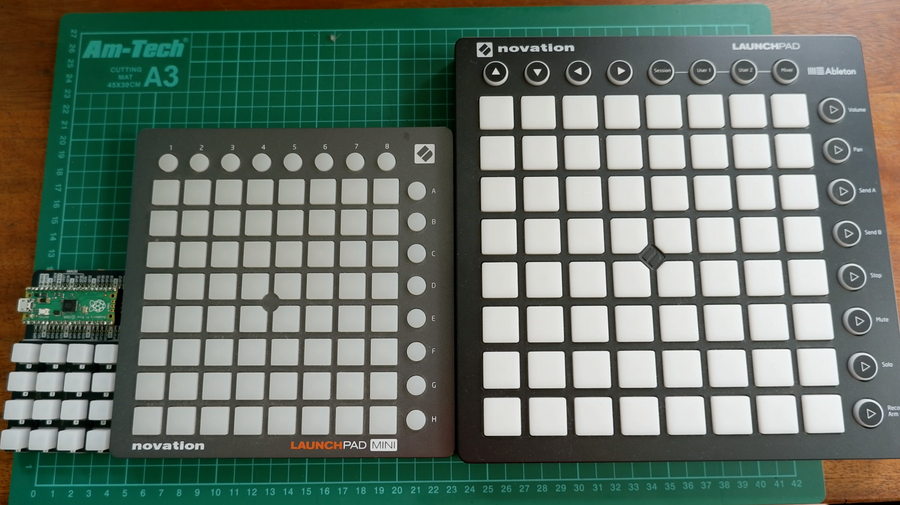
The Launchpad is a midi controller used for audio production with digital audio workstations (or DAWs) like Ableton. In comes in mini and standard forms and features 64 pads, along with 16 additional buttons ready to map to your application of choice. The mini version starts at £75, the standard is £145 and there’s an older “Pro” which is currently available for £179.
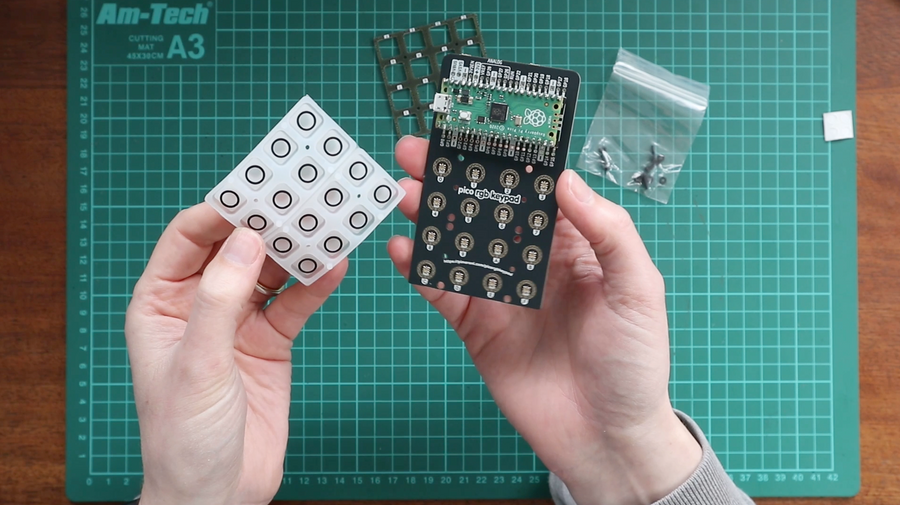
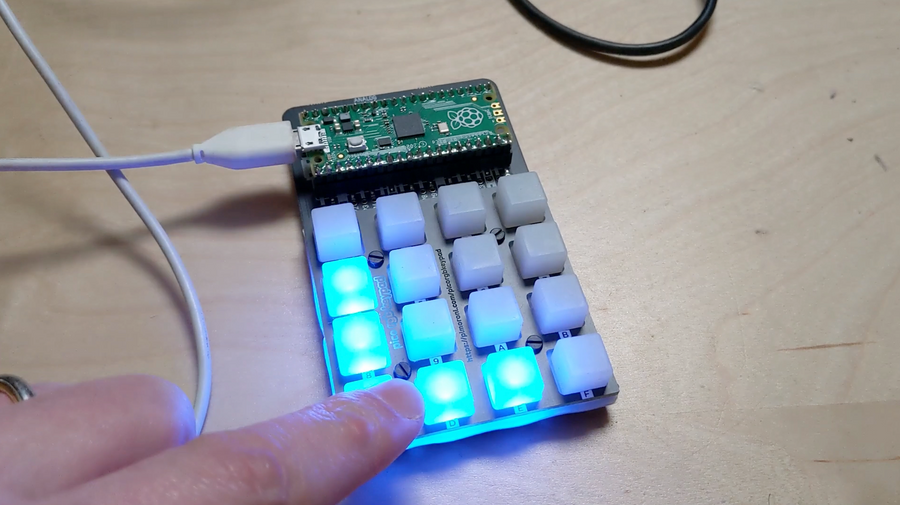
The Pico RGB keypad base from pimoroni is a DIY kit that takes the Raspberry Pi Pico and gives you an a 16 button matrix of rgb LEDs, ready to program however you like using MicroPython or CircuitPython. When combined with the versatile Pico, the recently released microcontroller available from the Raspberry Pi Foundation, it costs just over £25, or $35 excluding delivery.
I’ve been a big fan of these types of pad kits, wanting to put something similar together myself ever since I first started seeing artists like Daedelus using monomes over a decade ago. The music he produced was so impressive and inventive for myself to watch and as a DJ, triggering samples in this way was something else. I even went to the trouble of group ordering the PCB’s for a monome before realising it was way beyond my skills to put the thing together. Being an open source design, the monome was freely available for anyone to construct.
The Launchpad is also a grid style controller and was kind of Novation’s commercial version of the Monome. It has been incredibly popular since it was first launched back in 2014. I have two of them myself (a original mini and standard mk2 one) which I’ve purchased when they’ve been on sale. You can find ton’s of launchpad videos on youtube with amazing lightshows going along with them.
You’ll understand why when I saw that Pimoroni had a Pico kit able to be programmed as a midi controller and it was only £25 why I had to pick one up!
Build
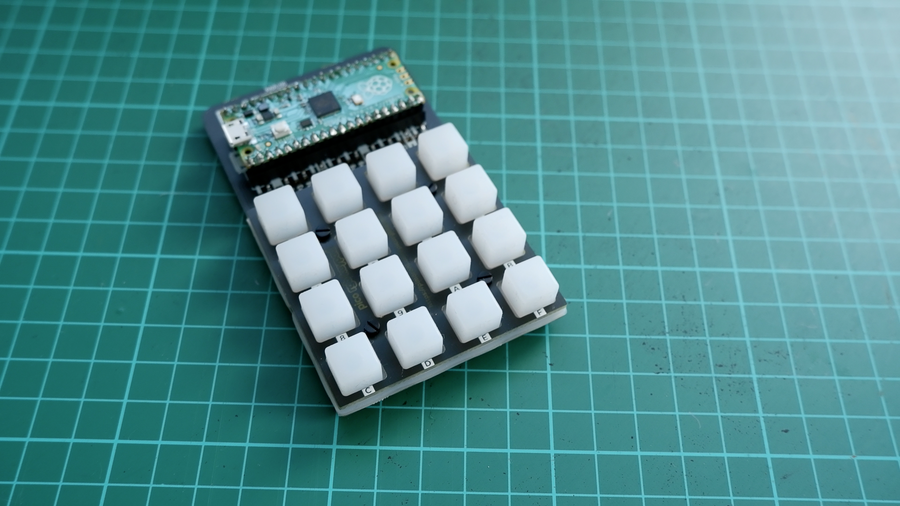
Assembly for the pad is dead simple - the kit has easy to use instructions and I had it built in less than 20 minutes. The only slightly complex part is the soldering of the header pins to the Pico itself, which you’ll need to do with most Pico based projects anyway. You can watch previous videos of mine which cover both the assembly and soldering in more detail.
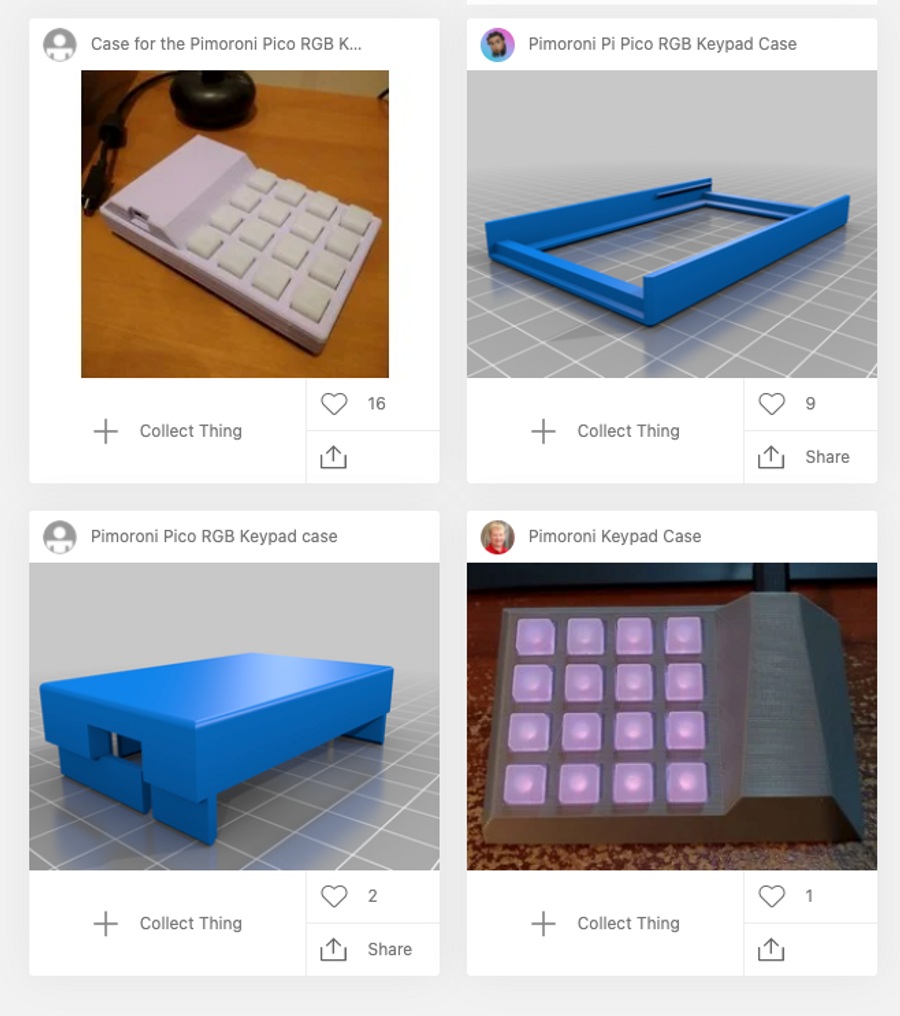
You’ll end up with a tiny controller with nice little rubber feet and there’s even a few case’s available for it to be printed on thingiverse.com.
Software
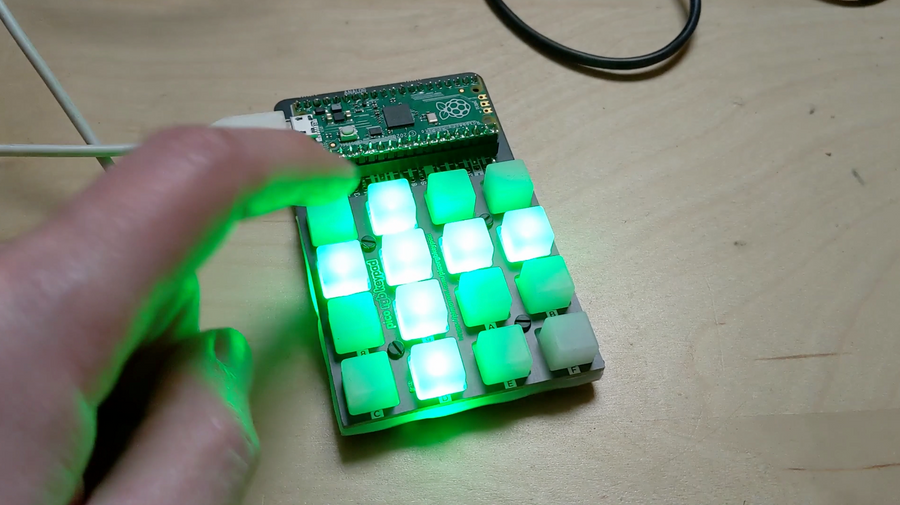
The next part is the software - what you start with is essentially a blank piece of hardware able to behave in any way you want. I’ve programmed a couple of animations so far, but you could also set it up as a macro pad to launch applications or trigger actions you use regularly in software.
The Pico will appear as a RP-RP2 drive when plugged into a computer with the “BOOTSEL” button depressed. In order to configure it as a midi controller, we need to install CircuitPython, which involves dragging and dropping a .uf2 to the device. It will then reboot and appear as a “CIRCUITPY” drive. We can then install the other required libraries (adafruit_midi, adafruit_bus_device and adafruit_dotstar) under the /lib folder and the midi controller code we’re going to use by SandyJMacdonald.
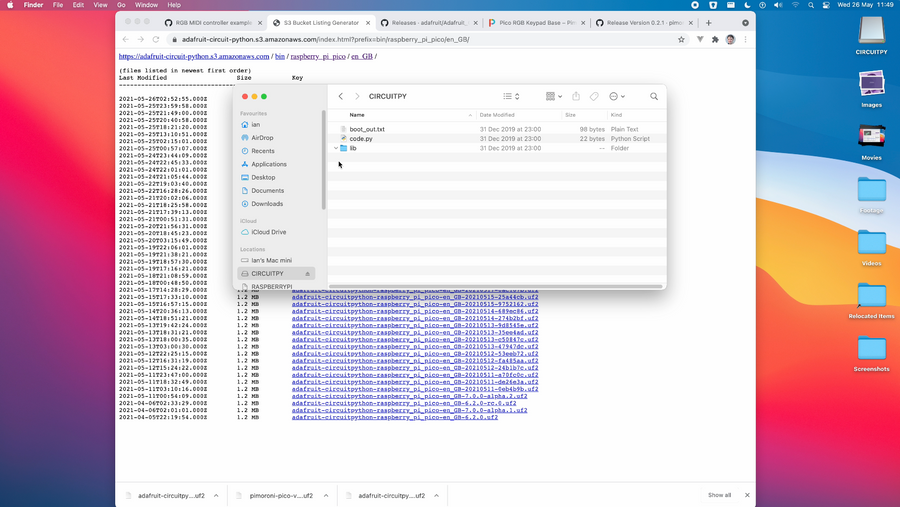
I had a couple of of problems here in that the “stable” version of CircuitPython didn’t actually work, causing my Pico to disappear and requiring a nuke file to get it to respond again. I eventually was able to get everything installed using the absolute newest version of CircuitPython.
If that’s gone well, then congratulations our midi controller is now able to be used!
Performance
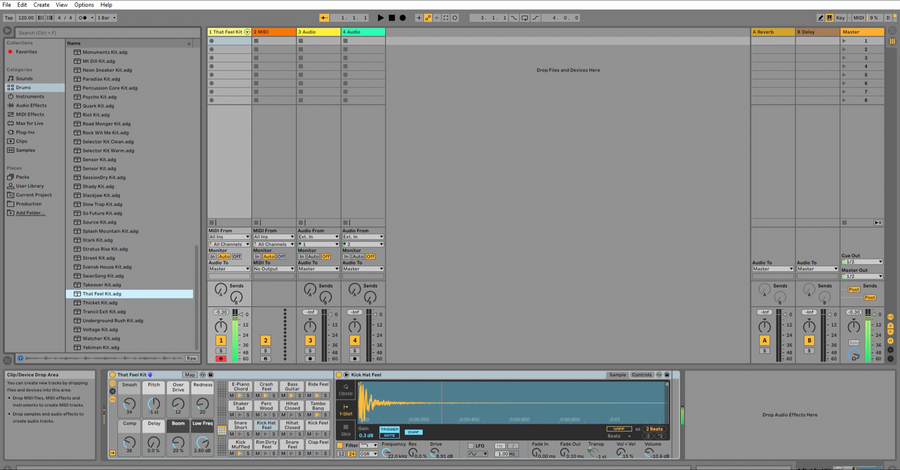
I had no trouble connecting the KeyPad to Ableton and getting it recognised. In fact, I did nothing at all - everything just worked. You’ll then spent a huge amount of time navigating the various drumkits in Ableton and playing with them all, though you’ll really need to put in the hours to get proficient at finger drumming. You’ll probably notice from my videos even though I own two launchpads already I’m not quite there yet!
It is obviously a lot smaller than a launchpad and only features 16 pads over the launchpads 64, but I see this more as a creative limitation. You may also find that the keypad skates around the desk due to the tiny rubber pads included so may want to print one of the above cases and add a rubber base to it to prevent that.
Future Work
I already have ideas for other midi controllers I’d like to put together, I’d really like something with sliders and knobs to control levels and effects - similar to a midi twister. Let me know in the comments your ideas for any Pico style projects you’d like to see.